How to Push Code to GitHub: Complete Guide Using Git Bash & GitHub Desktop
Learn how to publish your local projects to GitHub using both command-line (Git Bash) and graphical interface (GitHub Desktop) with detailed step-by-step instructions.
Prerequisites
Before you begin, ensure you have completed the following setup steps:
- A registered account on GitHub.com.
- For Method 1: Git installed on your computer (Download Git).
- For Method 2: GitHub Desktop app installed (Download GitHub Desktop).
Step 1: Create a New Repository on GitHub
Regardless of whether you use Git Bash or GitHub Desktop, you need a remote repository on GitHub to receive your code.
- Log into your GitHub account.
- Click the "+" (Plus) icon in the top-right corner and select New repository (or click the green New button on your dashboard).
- Enter a Repository name (e.g.,
my-awesome-project). - Choose visibility: Public or Private.
- Important: Leave "Add a README file", ".gitignore", and "License" UNCHECKED if you are pushing an existing local project folder.
- Click the green Create repository button.
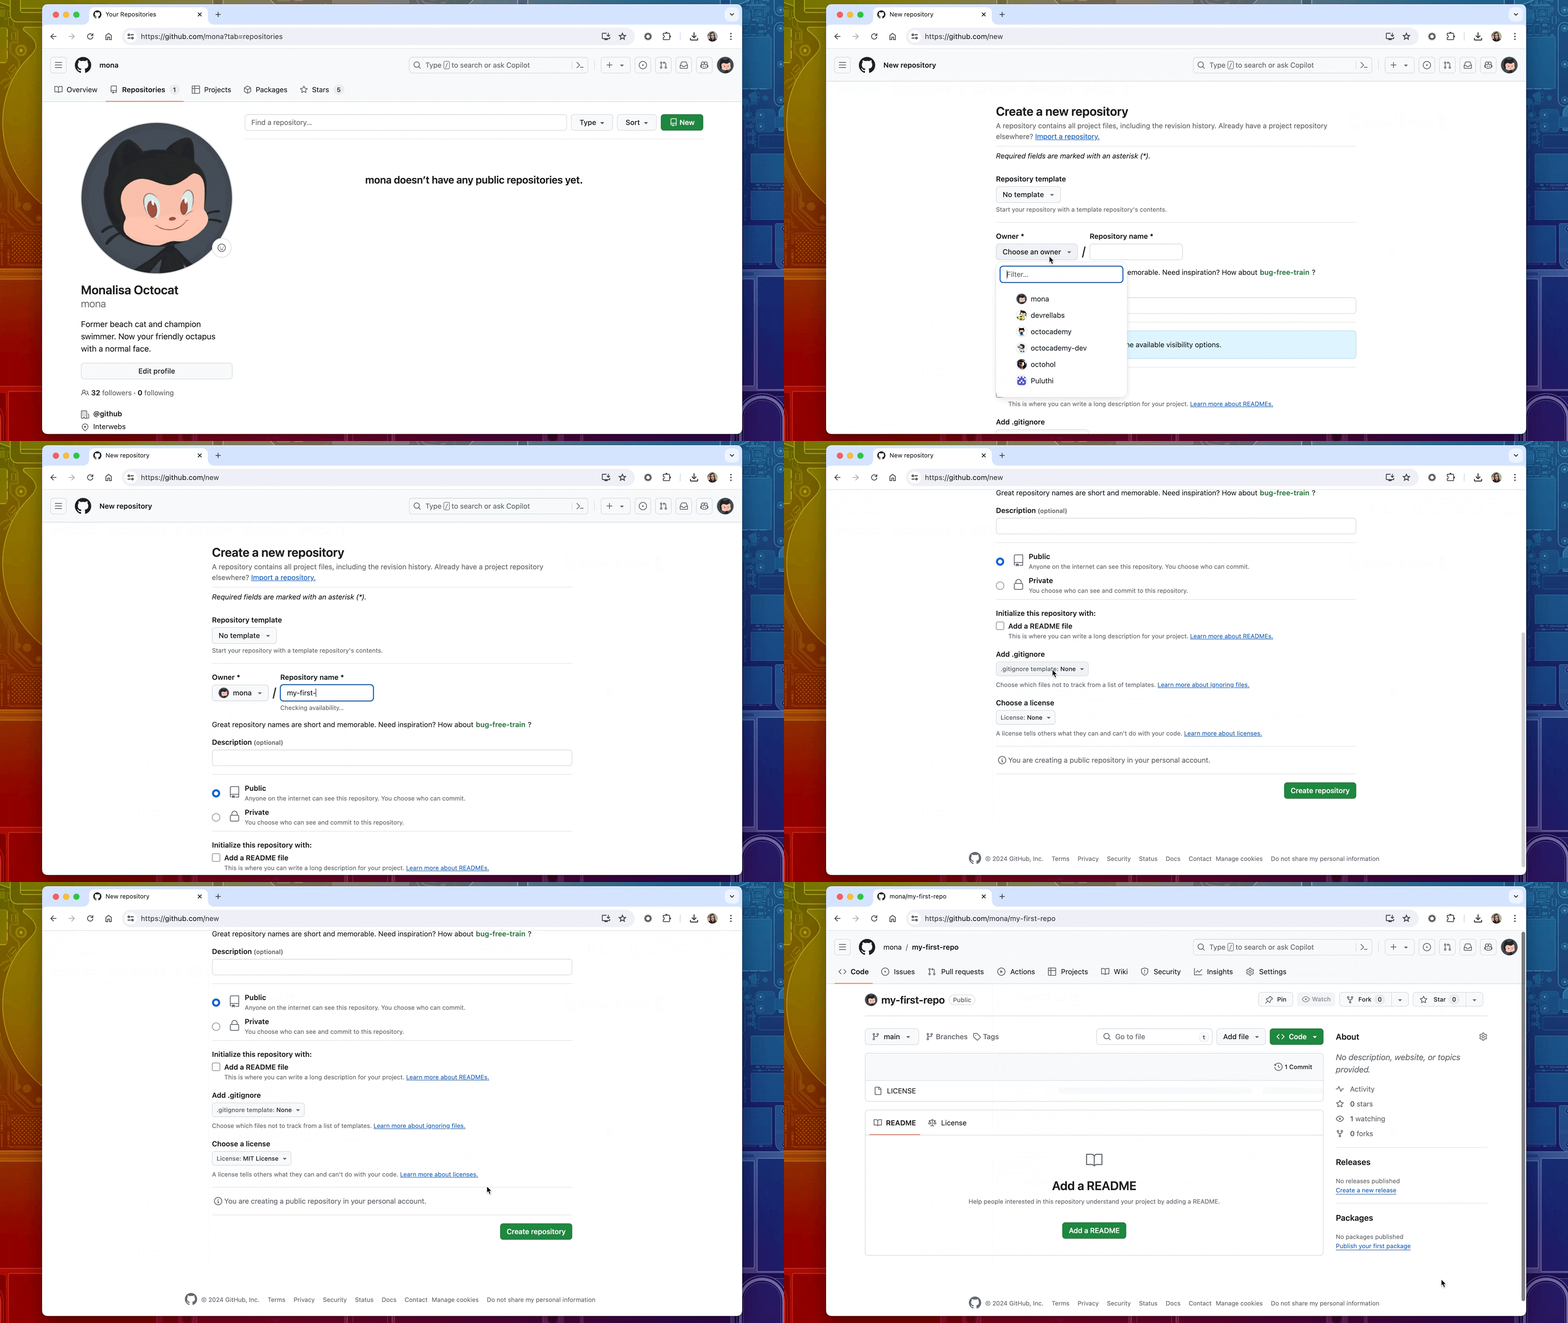
Figure 1: Navigating the GitHub Repositories page to create a new remote repository.
Method 1: Push Code to GitHub Using Git Bash
This is the standard command-line approach favored by developers for speed and direct control over Version Control Systems.
Step 1.1: Open Terminal in Your Project Folder
Navigate to the project directory on your computer where your source code files are located. Right-click anywhere in the folder window and select Git Bash Here.
Step 1.2: Initialize Git in the Project Directory
Run the git init command to turn your project folder into an active Git repository. This creates a hidden .git folder.
# Initialize local repository
git init
Step 1.3: Add Files to the Staging Area
Stage all your files so Git starts tracking changes made to them. The period (.) tells Git to include all files in the current directory.
# Stage all files in project folder
git add .
Tip: You can check the status of staged files at any point by typing git status.
Step 1.4: Commit the Staged Files
Save your staged snapshot locally by writing a commit message describing what changes were added.
# Commit changes with a descriptive message
git commit -m "Initial commit: Added project files"
Step 1.5: Rename Default Branch to Main
GitHub uses main as its default branch name. Run this command to ensure your local branch matches GitHub's standard:
# Set default branch name to 'main'
git branch -M main
Step 1.6: Connect Your Local Repository to GitHub (Add Remote)
Copy the HTTPS URL from the GitHub repository page you created earlier (e.g., https://github.com/username/my-awesome-project.git) and run:
# Connect local repository to GitHub remote origin
git remote add origin https://github.com/YOUR-USERNAME/YOUR-REPOSITORY-NAME.git
Step 1.7: Push Your Code to GitHub
Finally, push your committed code from your local main branch to the origin remote on GitHub:
# Push code and set tracking branch
git push -u origin main
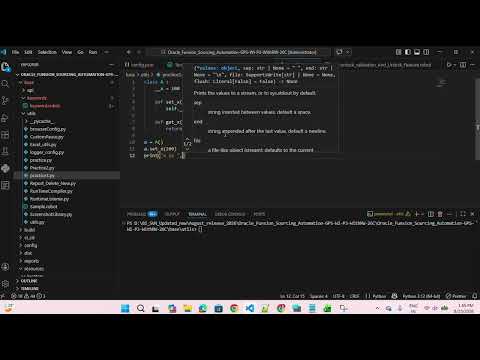
Figure 2: Executing Git push commands inside the Git Bash terminal.
Method 2: Push Code to GitHub Using GitHub Desktop
If you prefer a visual interface without typing terminal commands, GitHub Desktop makes the process fast and intuitive.
Step 2.1: Sign In to GitHub Desktop
Open GitHub Desktop and log in with your GitHub account credentials (File > Options > Accounts > Sign In).
Step 2.2: Add Your Local Repository
- Go to the top menu bar and click File > Add Local Repository... (or press
Ctrl + O). - Click Browse, select your local project folder, and click Select Folder.
- If the folder isn't a Git repo yet, GitHub Desktop will prompt: "This directory does not appear to be a Git repository." Click the link that says Create a repository.
- Fill in the name, description, and click Create Repository.
Step 2.3: Commit Your Changes
- In the left sidebar under Changes, you will see a list of all your project files.
- At the bottom left, enter a Summary (commit title, e.g., "Initial project upload").
- Click the blue Commit to main button.
Step 2.4: Publish/Push Repository to GitHub
- After committing, a top-bar banner will display a button labeled Publish repository.
- Click Publish repository.
- In the modal window that appears:
- Confirm the repository Name.
- Uncheck "Keep this code private" if you want a public repository.
- Select your GitHub Organization/Account.
- Click Publish Repository. GitHub Desktop will automatically upload all code directly to GitHub.
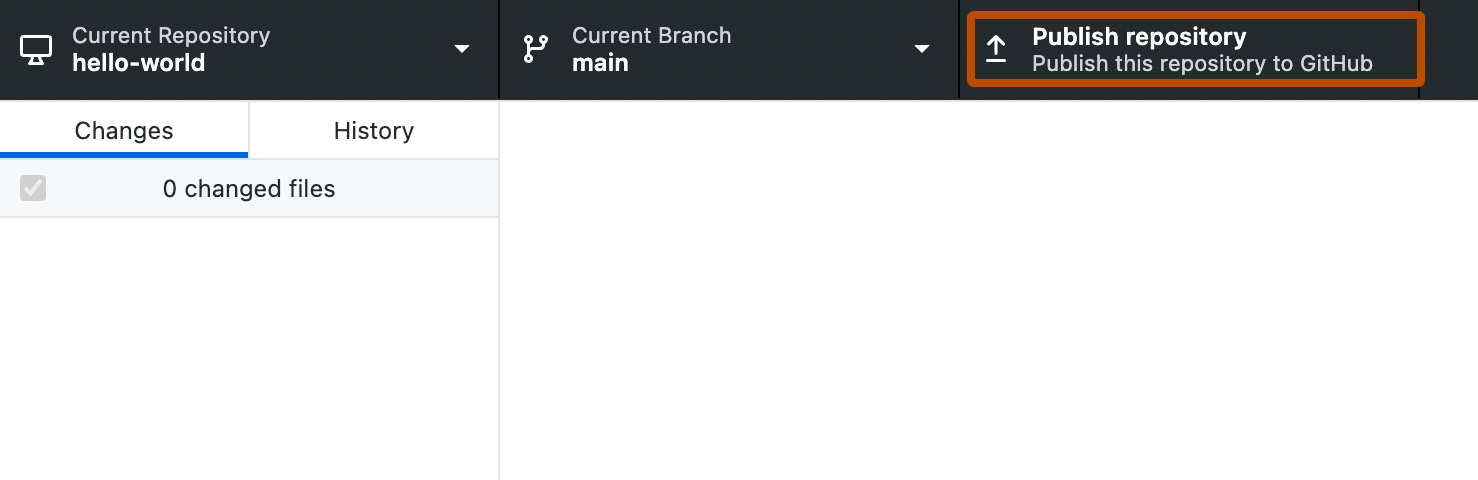
Figure 3: Clicking the 'Publish repository' button in GitHub Desktop to upload local code.
Quick Command Reference Cheat Sheet (Git Bash)
| Command | What it does |
|---|---|
git init |
Initializes a new local Git repository. |
git add . |
Stages all files for tracking/committing. |
git commit -m "message" |
Saves staged changes locally with a commit note. |
git remote add origin URL |
Links your local repo to the remote GitHub URL. |
git push -u origin main |
Uploads local commits to the primary remote branch. |



No comments:
Post a Comment